 how-to
How to Test Peptide Stability in Lab: A Step-by-Step Guide
Table of Contents
- Why Testing Peptide Stability Matters for Your Research
- Understanding Peptide Degradation Pathways
- HPLC Analysis for Peptides: The Core Analytical Method
- Setting Up Your Stability Testing Protocol
- Peptide Storage Best Practices to Preserve Integrity
- Interpreting Your Stability Data and Common Pitfalls
- Quality Assurance and Third-Party Verification
- Frequently Asked Questions
Last Updated: September 18, 2026
Why Testing Peptide Stability Matters for Your Research
Peptide degradation happens faster than most researchers expect. A batch that performs perfectly on day one can show significant loss of potency within weeks if storage and handling aren't optimized. This is where stability testing becomes essential, it's the difference between reproducible results and failed experiments.
Testing peptide stability in lab settings isn't just about confirming shelf life. It's about understanding exactly what happens to your compounds over time, under different storage conditions, and across temperature ranges. When you know how your peptides degrade, you can predict their behavior in your experiments and plan accordingly.
At BlueWaveCompound, we emphasize stability testing because it directly impacts the reliability of your research. Every batch we provide comes with third-party lab testing and a Certificate of Analysis, but understanding HOW to test stability yourself ensures you maintain compound integrity throughout your project timeline.
The stakes are high. A single degraded peptide batch can invalidate months of experimental work. Worse, you might not catch the degradation until results start looking inconsistent, wasting time and resources before you realize the problem.
Understanding Peptide Degradation Pathways
Peptides degrade through several distinct mechanisms, each triggered by different environmental factors. The three most common pathways are hydrolysis, deamidation, and oxidation.
Hydrolysis occurs when water breaks peptide bonds, shortening the chain and destroying biological activity. This happens faster in humid conditions and at higher pH levels. Deamidation is the conversion of asparagine and glutamine residues to aspartate and glutamate, changing the peptide's charge and structure. Oxidation affects amino acids like methionine and tryptophan, particularly in the presence of light and oxygen.
Each degradation pathway produces different breakdown products. Hydrolysis creates shorter peptide fragments. Deamidation produces isobaric variants, compounds with identical mass but different structures. Oxidation creates oxidized amino acid residues that alter the peptide's biological properties.
Temperature accelerates all three pathways. A peptide stored at room temperature degrades roughly twice as fast as one stored at 4°C, and four times faster than one stored at -20°C. Humidity, light exposure, and pH all act as additional stress factors.
The key insight: degradation isn't random. It follows predictable patterns based on peptide sequence and storage conditions. Understanding which pathway threatens YOUR peptides lets you design targeted storage and testing strategies.
HPLC Analysis for Peptides: The Core Analytical Method
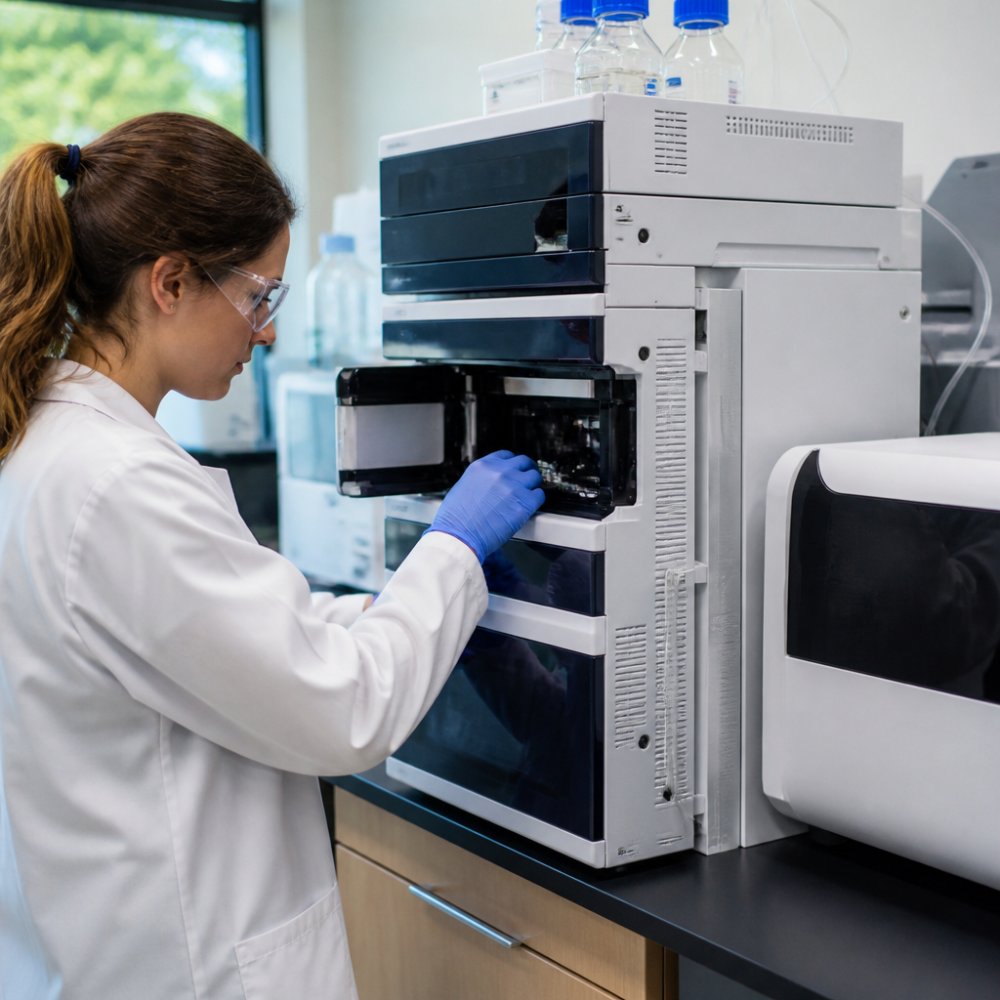
High-performance liquid chromatography (HPLC) is the gold standard for peptide stability testing because it separates degradation products from intact peptides and quantifies each component. When you test peptide stability in lab environments, HPLC gives you the resolution and sensitivity needed to detect even small changes in compound purity.
HPLC works by forcing your peptide sample through a column packed with tiny particles. Different molecules stick to the column for different lengths of time, creating separation. A detector measures what comes out, generating a chromatogram, a graph showing peaks for each compound in your sample.
For peptides, reversed-phase HPLC is standard. The column material is hydrophobic, so hydrophilic peptides don't stick strongly. They flow through at different rates based on their hydrophobicity, creating clean separation between intact peptides and their degradation products.
Sample Preparation and Calibration
Before you can test peptide stability with HPLC, you need clean samples and accurate calibration standards.
Start by dissolving your peptide in a solvent that won't cause additional degradation. Acidified water (0.1% trifluoroacetic acid, or TFA) is common because the low pH stabilizes most peptides and prevents deamidation. Avoid buffers with high pH or organic solvents that might accelerate breakdown.
Create a calibration curve using pure peptide standards at known concentrations. Inject 5-10 different concentrations spanning the range you expect in your samples. Plot peak area against concentration. This curve lets you convert peak areas from unknown samples into actual purity percentages.
Key calibration steps:
- Use high-purity reference standards (≥98%)
- Prepare fresh standard solutions to avoid degradation during storage
- Inject standards at least twice to confirm reproducibility
- Verify linearity across your expected concentration range
- Document all standard preparation dates and conditions
A common mistake is reusing calibration curves from weeks earlier. Peptide standards degrade too. Refresh your standards every 1-2 weeks, or whenever you notice unusual peak shapes or baseline drift.
Chromatographic Resolution and Detection
Resolution, the ability to separate closely-related compounds, determines whether you can actually see degradation products. Poor resolution masks degradation because breakdown products might coelute (exit at the same time) with intact peptide.
Achieve good resolution by:
- Using a gradient of increasing organic solvent (acetonitrile or methanol) over 20-30 minutes
- Maintaining column temperature at 25-30°C for consistency
- Selecting a column with appropriate pore size (300Å for large peptides, 100Å for smaller ones)
- Keeping flow rate between 0.5-1.5 mL/min
Detection typically uses ultraviolet light at 214 nm (peptide bonds absorb strongly) or 280 nm (aromatic amino acids). UV detection is simple and sensitive. For greater specificity, mass spectrometry (MS) detection identifies exact masses of degradation products, confirming what you're actually measuring.
Setting Up Your Stability Testing Protocol
A stability testing protocol defines WHEN you'll test, WHAT conditions you'll use, and HOW you'll interpret results. Without a protocol, your testing becomes scattered and unreliable.
Start by defining your testing timepoints. For accelerated studies, test at day 0, 7, 14, 30, and 60 days. For long-term studies, test at day 0, 30, 90, 180, and 365 days. More frequent early testing catches rapid degradation; longer intervals later confirm stability has plateaued.
Prepare multiple aliquots of your peptide at the start. Store each aliquot under a different condition (temperature, humidity, light exposure). This lets you test the same batch across different storage scenarios without opening the same vial multiple times.
Document everything: peptide sequence, batch number, initial purity, solvent composition, storage temperature, humidity level, light exposure, and testing dates. This metadata becomes critical when you're interpreting results months later.
Accelerated vs. Long-Term Stability Studies
Accelerated stability testing stresses your peptide with heat, light, or humidity to predict long-term behavior quickly. The ICH Q1A guidelines suggest testing at 40°C and 75% relative humidity for 6 months equals roughly 3 years at room temperature.
The advantage: you get results in weeks instead of years.
ICH Q1A Guidelines and Compliance
The International Council for Harmonisation (ICH) Q1A guidelines define standard stability testing protocols for pharmaceuticals and research compounds. These guidelines aren't legally binding for academic research, but they're widely recognized as best practice.
ICH Q1A specifies:
- Storage conditions (25°C/60% RH for intermediate, 40°C/75% RH for accelerated)
- Testing intervals (0, 3, 6, 9, 12 months for long-term; 0, 3, 6 months for accelerated)
- Acceptance criteria (typically 90% of original potency minimum)
- Documentation requirements for audit trails
Peptide Storage Best Practices to Preserve Integrity
How you store peptides between tests matters as much as the testing itself. Poor storage during the study invalidates your results because you're measuring storage-induced degradation, not true peptide stability.
Keep peptides away from:
- Direct sunlight or UV light
- Heat sources (radiators, hot plates, direct lamp exposure)
- Humid environments (open benches, near sinks)
- Organic solvents that might leach into the vial
- Temperature fluctuations from repeated door openings
Interpreting Your Stability Data and Common Pitfalls
Watch for these warning signs:
Peak broadening or tailing suggests your sample is degrading during analysis, not storage. This usually means your injection solvent is too basic or you're injecting too much sample at once. Reduce sample concentration or acidify your injection solvent.
Quality Assurance and Third-Party Verification
Testing your own peptides is essential, but third-party verification adds credibility and catches bias.
Document everything:
- Original batch purity (from Certificate of Analysis)
- Your testing methods and equipment
- All chromatograms (not just the summary numbers)
- Environmental conditions during storage
- Any deviations from your protocol
- Your interpretation and acceptance decisions
Frequently Asked Questions
How do I know if my peptides have degraded during storage?
Common signs of peptide degradation include discoloration, changes in solubility, or visible precipitation in the storage vial. The most reliable method is HPLC analysis, which detects degradation products and quantifies remaining peptide purity. If your peptides show less than 95% purity on HPLC, degradation has likely occurred. Temperature fluctuations, moisture exposure, and extended storage without proper conditions accelerate this process.
What is the difference between accelerated and long-term peptide stability testing?
Accelerated stability testing uses elevated temperatures (typically 40°C) and high humidity to stress peptides over weeks, predicting shelf-life in months. Long-term testing stores samples at normal conditions (2-8°C or 25°C) over actual months or years. ICH Q1A guidelines provide standard protocols for both. Accelerated testing identifies degradation pathways quickly; long-term testing confirms real-world stability claims. Most labs run both in parallel.
Why is third-party lab testing important for peptide stability?
Third-party testing provides independent verification of purity, identity, and stability claims. It eliminates bias and gives your research credibility with peer reviewers and regulatory bodies. Third-party labs use validated HPLC-MS methods, maintain strict quality control, and issue Certificates of Analysis documenting exact results. This documentation is essential for reproducibility and institutional compliance. BlueWaveCompound provides third-party lab-tested peptides with Certificates of Analysis to support your experimental confidence.
What storage conditions best preserve peptide stability?
Store peptides at 2-8°C (refrigerated) or -20°C (frozen) in airtight, light-protected containers. Keep them dry, moisture and freeze-thaw cycles cause hydrolysis and deamidation. Use inert packaging to prevent oxidation. For lyophilized peptides, store in a desiccator or vacuum-sealed vial. Avoid temperature fluctuations, direct light, and extended exposure to air. Proper peptide storage best practices can extend shelf-life from months to years, preserving the purity and stability your research depends on.